I feel like there are so many blog posts on how to make starter, yet none have a clear explanation of the do’s and don’ts without a thousand pictures you have to scroll through! So here is just that. (Also thanks to my sister Ash for being my sourdough guru and teaching me what I know). 🙂
What you will need:
- Glass jar
- Hairtie or rubber band
- Wooden/plastic/or silicone spoon (not metal/silver)
- Flour
- Water
Rules:
- Use a wooden, plastic, or silicone spoon to mix, NOT METAL OR SILVER
- When you add water, it must be water that has been sitting out for at least 1 hour. Otherwise (even if filtered), it could have traces of chemicals that will kill the yeast.
Making your starter: (photos below)
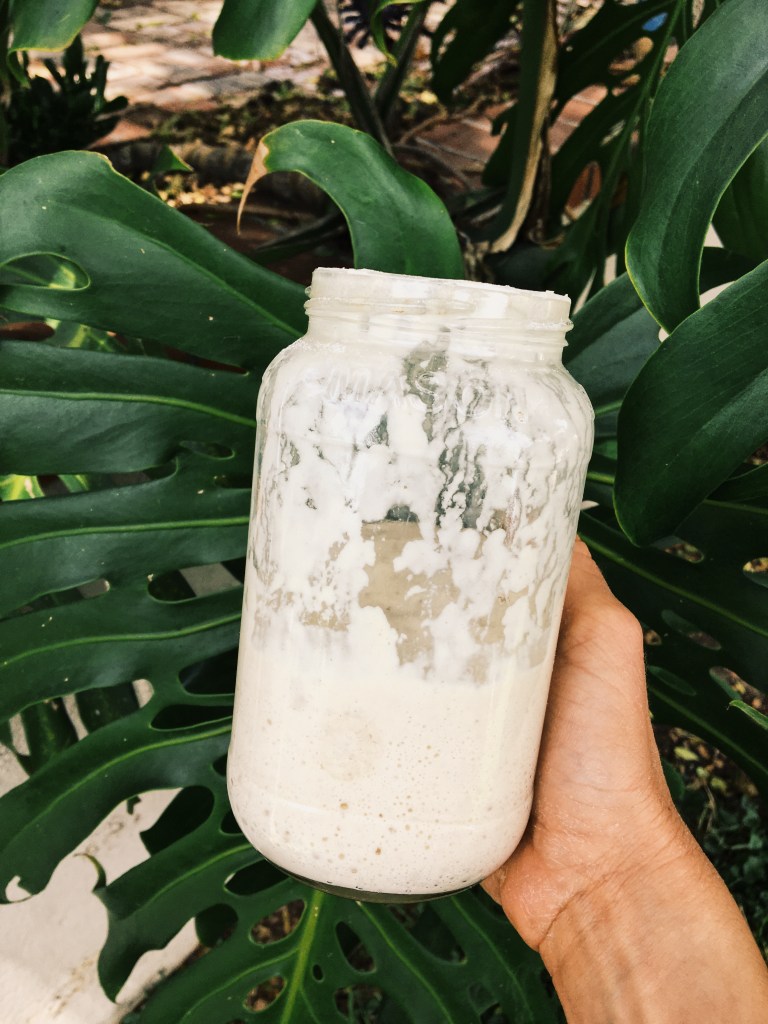
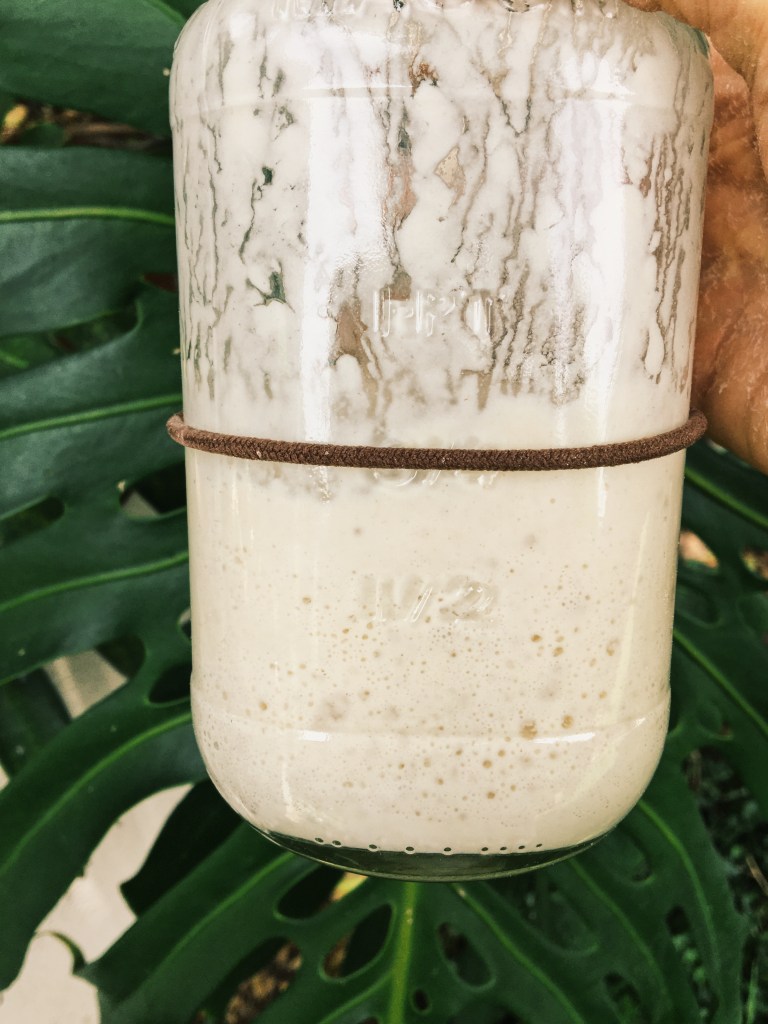
- Add 1 heaping tablespoon of flour and one tablespoon of water to a glass jar. Mix. Do not seal the jar, instead just place the inner metal circle of the lid, or plastic wrap, on top. Place a hairtie or rubber band around the jar where the dough is so you can see if it has grown.
- Wait 24 hrs.
- Throw away half of the mixture in the jar. Again, add a one tablespoon of flour and one tablespoon of water. Mix. Adjust the rubber band if needed.
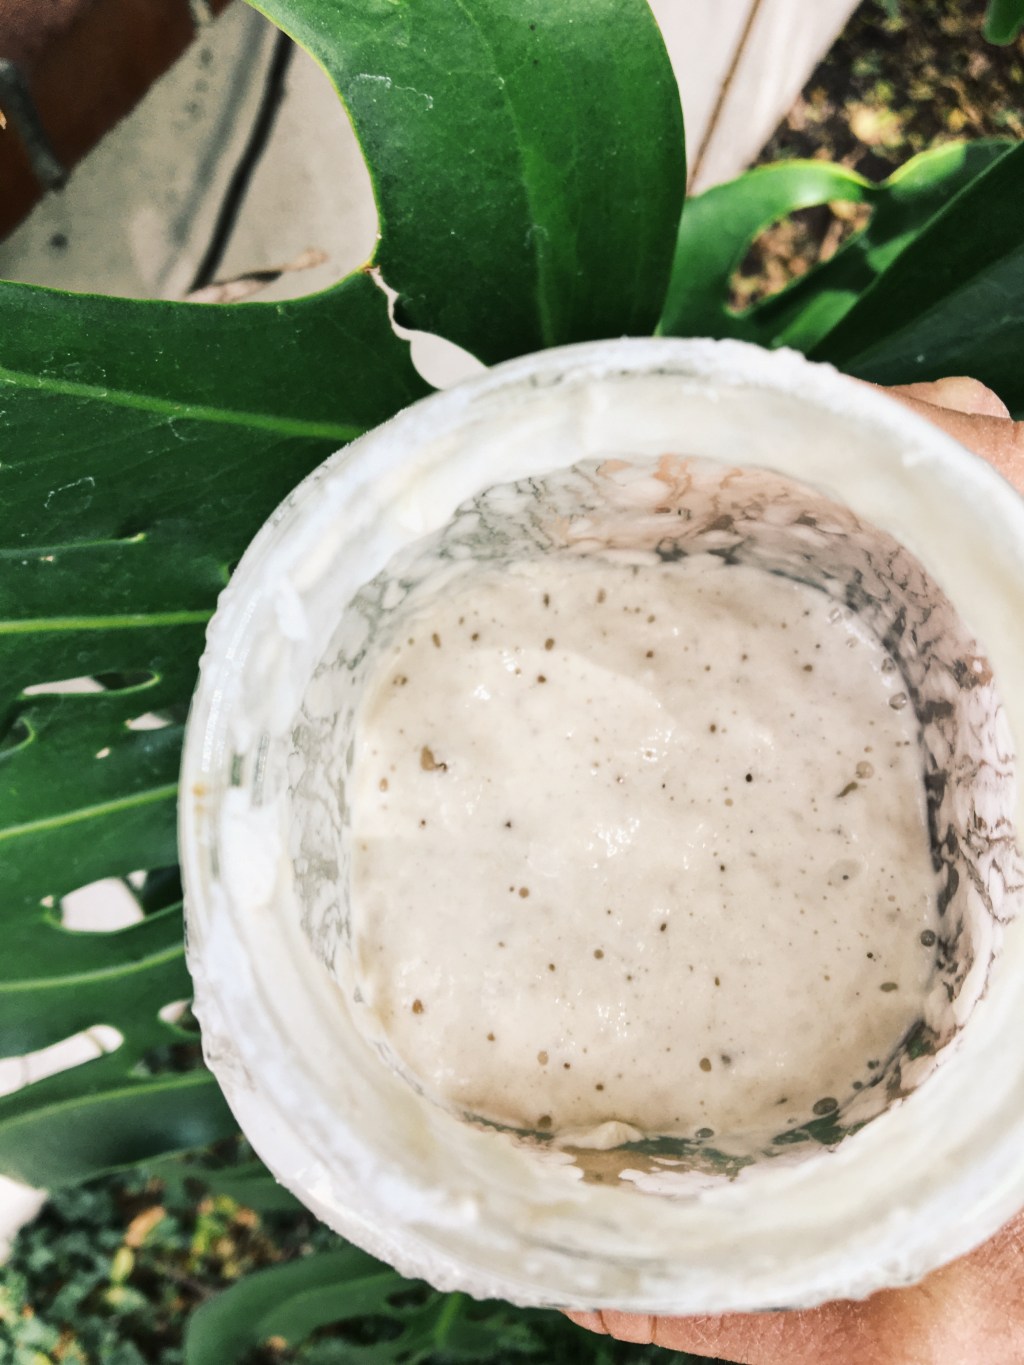
- Repeat steps 2-3 until your starter is very bubbly AND has grown to double in size. Mine took 6 days for this to happen, but it can take up to two weeks.
- Once it is bubbly and has grown, use it for a recipe! Make sure to use it while it is doubled in size because that is when it is most active. It has a peak time and will start to deflate (meaning it’s hungry and needs to be fed flour/water again). Use during it’s peak. Once it is growing and bubbling, you can feed it any amount (keeping the water/flour ratio the same) and multiple times a day. It will be ready to use typically 3-12 hours after you feed it. This is why I like to feed it in the morning, so I can check on it and use it during the day. If you always feed it at night it may peak when you sleep and be deflated by morning.
Notes:
- Make sure you discard half before a feeding. There are plenty of recipes that use the discard (pancakes, waffles, etc.) , although these are only for the discard from the active, bubbly starter, NOT for the discard from the beginning stage.
- If your starter is ready for a recipe, and the recipe requires 1 cup of starter, feed it 1 heaping cup of flour and one cup of water the morning of. That way you can make the recipe and still have starter to keep alive for your next recipe.
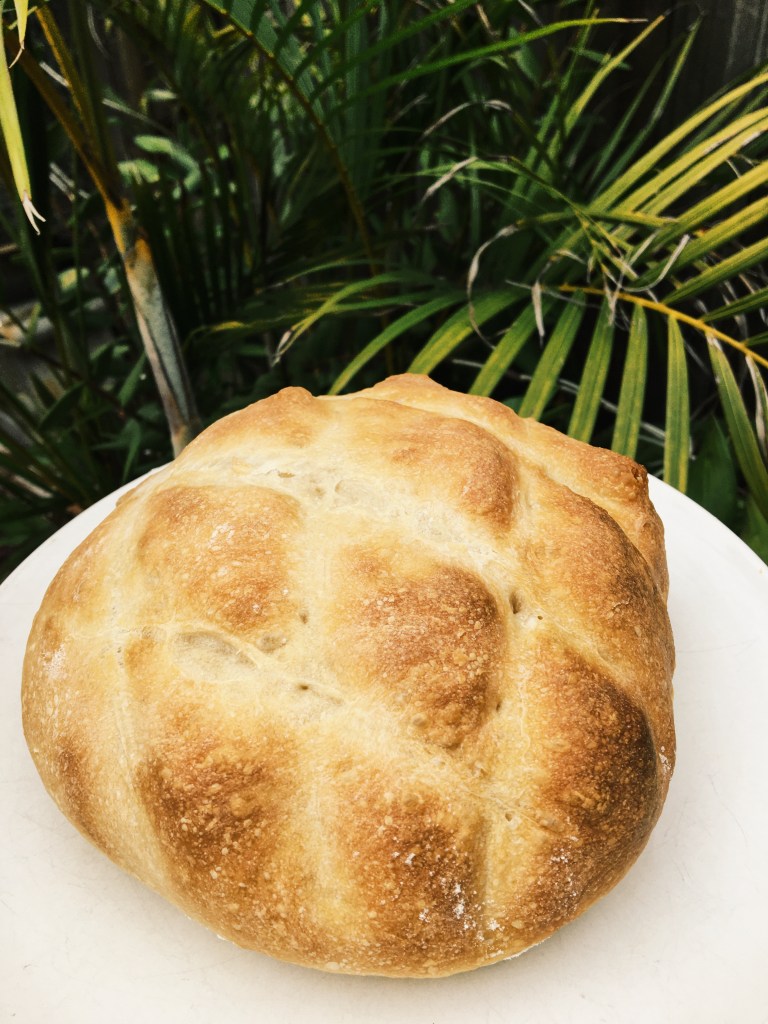
- Most recipes require a dutch oven, but if you don’t have one like me, you can just place your dough on parchment paper on a baking sheet, and then on the bottom rack, place a second baking sheet filled halfway with water. This generates steam like a dutch oven would, and is a great alternative!
- A sour smell is normal! It is sourdough, after all.
- If you see signs of mold, or a pink/orange streak, throw it out.
Recipes I love:

Leave a comment